I've seen countless walls ruined by air bubbles in skim coat1. The frustration when you think you've done everything right is real.
To prevent air bubbles in skim coat, mix slowly, use proper water ratio, apply thin layers, work in cool conditions, prime surfaces first, use quality additives, and avoid overworking the material.

Let me share what I've learned from years of dealing with skim coat problems. These tips will save you time and money.
What is the introduction to skim coat1 and why bubbles matter?
Air bubbles in skim coat can destroy your perfect finish. I've redone entire walls because of this problem.
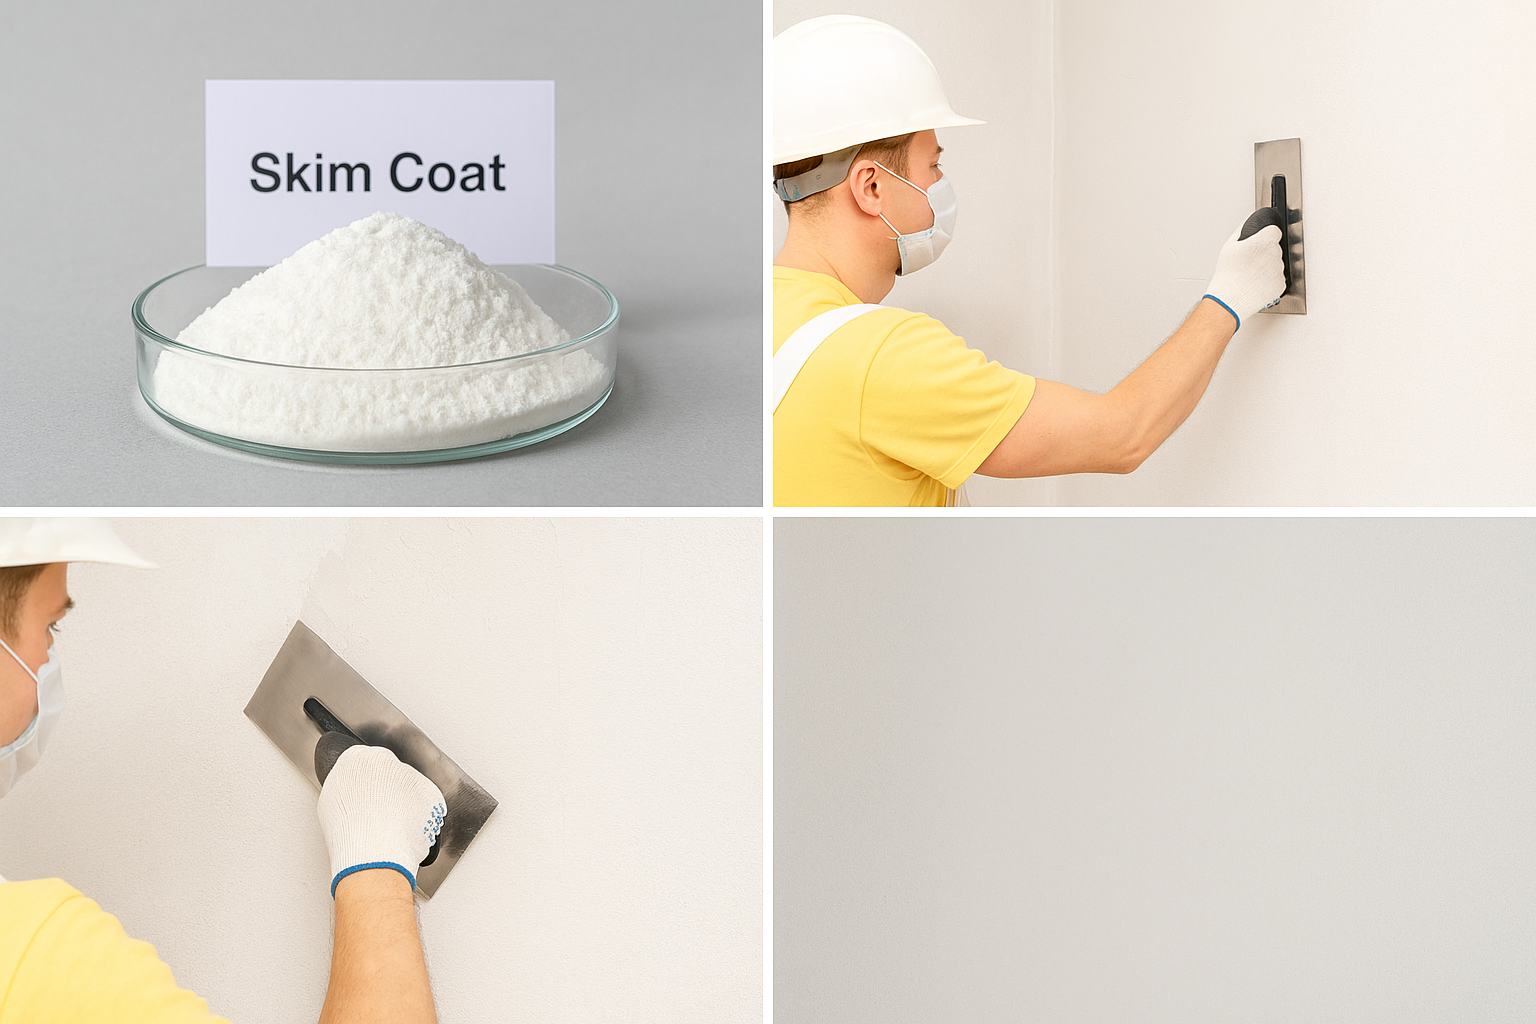
Skim coat is a thin layer of joint compound applied to walls for smooth finishes. Air bubbles form when air gets trapped during mixing or application, creating bumps and holes.

Understanding skim coat basics helps prevent problems. Skim coat is basically a mixture of water, cement, lime, and special additives like HPMC (hydroxypropyl methylcellulose). When I first started, I didn't know that the quality of these additives makes a huge difference. Poor quality HPMC leads to poor water retention and more bubbles. The right mixture creates a creamy consistency that spreads smoothly without trapping air.
Common Causes of Air Bubbles
| Cause | Description | Solution |
|---|---|---|
| Fast mixing | Creates foam and air pockets | Mix slowly at low speed |
| Wrong water ratio | Too thick or thin mixture | Follow manufacturer guidelines |
| Poor surface prep | Unsealed surfaces absorb moisture | Prime before application |
| Hot weather | Fast drying traps air | Work in cooler conditions |
| Low-quality additives | Poor water retention | Use quality HPMC products |
I learned these lessons the hard way. My first big project in Saudi Arabia failed because I mixed too fast in hot weather. The entire wall looked like Swiss cheese.
What are the main skim coat applications?
Skim coating works for many surfaces. I use it on drywall, concrete, and even old painted walls.
Skim coat applications include smoothing textured walls, covering imperfections, preparing surfaces for painting, repairing damaged drywall, and creating uniform surfaces on different materials.

Each application needs different techniques. When I work on concrete walls, I add more water because concrete absorbs moisture quickly. For drywall repairs, I use less water to prevent sagging. The key is understanding your surface. New construction usually needs one coat. Old walls might need two or three coats. I once worked on a 50-year-old building that needed four coats to get smooth.
Application Requirements by Surface Type
| Surface Type | Coats Needed | Special Requirements |
|---|---|---|
| New drywall | 1-2 | Light sanding between coats |
| Textured walls | 2-3 | Heavy primer first |
| Concrete | 2-3 | Extra water in mix |
| Old paint | 1-2 | Clean and degloss first |
| Plaster repair | 2-4 | Match existing texture |
The most challenging application I faced was a hotel renovation in Dubai. Different rooms had different wall types. We had to adjust our mixture for each surface. Quality HPMC additives saved us because they provided consistent performance across all surfaces.
How to apply skim coat1 properly?
Proper technique prevents most bubble problems. I follow a simple system that works every time.
Apply skim coat by mixing slowly, spreading thin even layers with a wide knife at 30-degree angle, working in sections, and avoiding overworking the material.

My application process starts with preparation. First, I clean the wall completely. Dust and dirt cause bubbles. Then I apply primer. Many people skip this step, but primer seals the surface and prevents moisture absorption. When mixing, I add powder to water, never water to powder. This reduces air incorporation. I mix at low speed for 3-5 minutes until smooth.
Step-by-Step Application Process
| Step | Action | Time | Key Point |
|---|---|---|---|
| 1 | Clean surface | 10 min | Remove all dust |
| 2 | Apply primer | 20 min | Let dry completely |
| 3 | Mix skim coat | 5 min | Slow speed only |
| 4 | First coat | 30 min | Thin layer |
| 5 | Dry time | 4-6 hours | Don't rush |
| 6 | Sand lightly | 15 min | Remove high spots |
| 7 | Second coat | 30 min | Fill low areas |
Temperature matters too. I learned this working in Pakistan during summer. Hot weather makes skim coat dry too fast, trapping air inside. Now I work early morning or late evening in hot climates. Adding quality cellulose ethers like our HPMC products helps control drying time even in difficult conditions.
What are the advantages and disadvantages of skim coat?
Skim coating has clear benefits and drawbacks. I tell my clients both sides before starting any project.
Advantages include smooth finishes, cost-effectiveness, and versatility. Disadvantages are time consumption, skill requirements, potential for bubbles and cracks, and sensitivity to application conditions.

The biggest advantage I see is transformation. Ugly textured walls become smooth canvases for paint. One project in Mexico City turned a dated 1970s office into a modern workspace just with skim coating. Cost is another advantage. Compared to replacing drywall, skim coating saves 60-70% on materials and labor. The smooth finish also uses less paint, saving more money long-term.
Detailed Comparison of Pros and Cons
| Advantages | Disadvantages |
|---|---|
| Creates perfectly smooth walls | Requires skill and practice |
| Costs less than drywall replacement | Takes multiple days with drying time |
| Works on various surfaces | Sensitive to temperature and humidity |
| Increases property value | Can crack if applied too thick |
| Hides minor imperfections | Shows application errors easily |
| Improves paint adhesion | Needs proper additives for success |
The main disadvantage is difficulty. My first attempts were disasters. Bubbles, cracks, and uneven surfaces made me want to quit. Good training and quality materials changed everything. Using proper HPMC additives prevents most problems. They improve workability, reduce cracking, and control water retention. Without them, even experienced workers struggle.
Why choose KEHAO high-quality skim coat additives?
Quality additives make the difference between success and failure. I've tested many brands over 15 years.
KEHAO skim coat additives provide superior water retention, excellent workability, reduced air bubbles, consistent quality, and proven performance in challenging climates worldwide.

I discovered KEHAO products through a colleague in Sri Lanka. He showed me walls done with their HPMC - no bubbles, no cracks, perfect finish even in tropical humidity. The difference was immediate when I tried them. Mix consistency improved dramatically. Application became easier. Most importantly, bubble problems almost disappeared. Their HPMC grade specifically for skim coat has ideal viscosity and gel temperature for this application.
KEHAO Additives Performance Benefits
| Feature | Benefit | Result |
|---|---|---|
| High water retention | Prevents fast drying | Fewer air bubbles |
| Optimal viscosity | Better workability | Easier application |
| Temperature stability | Works in hot climates | Consistent results |
| Quality control | Batch consistency | Predictable performance |
| Technical support | Application guidance | Fewer mistakes |
| Custom packaging | Various sizes available | Reduced waste |
What really impressed me was their consistency. Every batch performs the same. When you're working on large projects, this reliability is crucial. I used KEHAO products on a 10,000 square meter warehouse in India. Despite extreme heat and tight deadlines, we achieved perfect results. Their technical team also provides excellent support, helping optimize mixtures for specific conditions.
Conclusion
Preventing air bubbles in skim coat requires proper technique, quality materials, and understanding of application conditions. These seven tips will improve your results dramatically.