Uneven floors causing delays in your construction project? Waiting for self-leveling mortar to dry can be frustrating when you're eager to move forward with tiling or flooring installation.
Most self-leveling mortars1 require 4-6 hours to become walkable, 24 hours to support light traffic, and 3-7 days for complete curing. However, drying times vary based on product formulation, thickness applied, environmental conditions, and proper mixing techniques.

Understanding these drying times is crucial for planning your project timeline and ensuring you get optimal results with your self-leveling compound. Let's examine the factors that affect drying times and how to manage them effectively for your specific application needs.
How to Make Self Leveler Dry Faster?
Waiting for self-leveling mortar to dry can delay your entire project schedule. Slow drying times can push back deadlines and increase labor costs significantly.
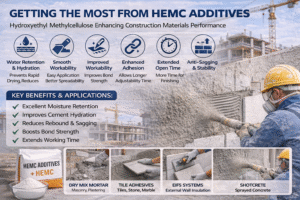
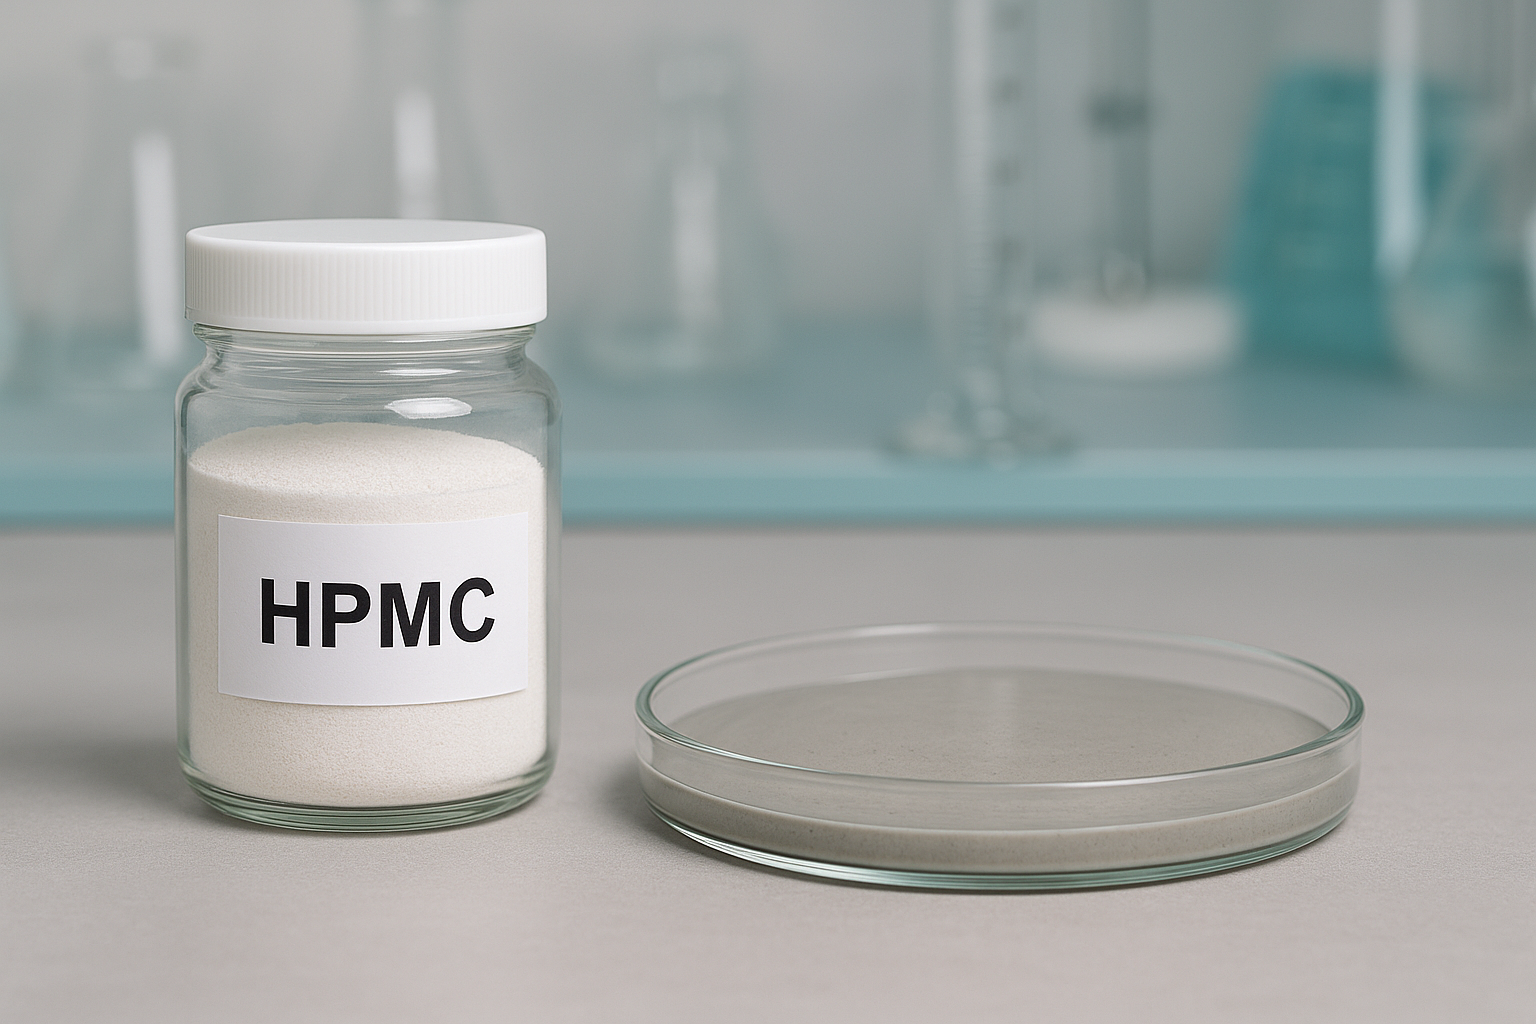
To speed up self-leveler drying time, use fans for air circulation, maintain room temperature between 65-75°F (18-24°C), run dehumidifiers to remove moisture, and consider using rapid-setting formulations with HPMC (hydroxypropyl methylcellulose2) additives for accelerated cure times.

When I need to speed up drying times on job sites, I've found several techniques particularly effective. Proper air circulation is perhaps the most important factor - positioning multiple fans to create cross-ventilation helps remove moisture from the surface and speeds evaporation. However, avoid directing fans directly at the surface as this can cause uneven drying or surface defects.
Temperature control plays a critical role in curing times as well. For optimal results, maintain the room between 65-75°F (18-24°C). If working in colder environments, consider using space heaters to create the ideal temperature range. Just be careful not to overheat, as temperatures above 85°F (29°C) can cause the surface to dry too quickly while the underlayers remain wet, potentially leading to cracking.
Humidity control is another critical factor. High humidity levels significantly slow down evaporation rates. Using dehumidifiers in enclosed spaces can reduce moisture levels and accelerate drying. In my experience, maintaining 40-50% relative humidity creates the ideal environment for faster curing.
Product selection can also impact drying speed. Many manufacturers now offer rapid-drying formulations that contain special additives like hydroxypropyl methylcellulose2 (HPMC) that modify water retention properties. These premium products may cost more initially but can save significant time on your project timeline.
Can You Put Too Much Water in Self Leveler?
I've seen contractors rush the mixing process and add excessive water to make self-leveling mortar easier to pour. This mistake ends up causing serious problems and project delays.
Using too much water in self-leveler weakens the final product, causing surface dusting, extended drying times, shrinkage cracks, reduced compressive strength, and poor bonding with floor coverings. Always follow manufacturer mixing ratios precisely for optimal results.

Water content is perhaps the most critical factor affecting both the application and performance of self-leveling compounds. When excessive water is introduced to the mixture, several problematic chemical and physical reactions occur that compromise the integrity of the final product.
First, let's understand why proper water content matters. Self-leveling mortars rely on carefully balanced chemical reactions between cement, polymers, and other components. The water-to-powder ratio directly affects how these components bind together as the material cures. Manufacturers spend significant time determining the optimal ratio for their specific formulations to balance flowability with structural integrity.
When too much water is added, the cement particles become too dispersed within the mixture. This excessive dilution prevents proper chemical bonding, resulting in a weaker matrix structure. I've documented the specific issues this causes in the table below:
| Problem | Cause | Result |
|---|---|---|
| Extended drying time | Excess water must evaporate | Project delays, increased labor costs |
| Surface dusting | Cement particles float to surface | Weak surface that crumbles under pressure |
| Shrinkage cracks | Excessive water evaporation | Visible cracks requiring repair |
| Reduced strength | Diluted binding materials | Floor may not support expected loads |
| Poor adhesion | Weaker bonding properties | Potential delamination of floor coverings |
Our factory testing has consistently shown that increasing water content by just 10% beyond manufacturer recommendations can decrease compressive strength by up to 30% and extend drying times by several days.
Why is My Self-Leveling Compound Not Drying?
I recently helped a customer troubleshoot a self-leveling project that remained tacky for days. Improper drying causes major headaches and can ruin expensive flooring materials if not addressed.
Self-leveling compound drying issues typically result from excessive thickness, poor substrate preparation, high humidity levels, low temperatures, improper mixing ratios, or insufficient ventilation. Addressing these factors is essential for proper curing.

When facing drying problems with self-leveling compounds, a systematic troubleshooting approach helps identify the root cause. I've encountered numerous challenging scenarios over the years, and proper diagnosis is essential before attempting any remediation measures.
Thickness is often overlooked as a critical factor. Self-leveling products have specific maximum pour depths, typically between 1/8" to 2" (3-50mm) depending on the formulation. When applied too thickly, especially in a single pour, moisture becomes trapped in deeper layers. In these cases, the surface may appear dry while underlying sections remain wet. For deeper applications, specialty deep-pour products containing HPMC and other additives that control water retention should be used, or multiple thinner layers should be applied with proper curing time between applications.
Substrate issues are another common culprit. If the subfloor itself contains excessive moisture (common in concrete less than 60 days old), this moisture will continuously transfer into the leveling compound, preventing proper drying. Always conduct moisture testing of the substrate before application. Moisture barriers or vapor retarders may be necessary for problematic substrates.
Environmental conditions also significantly impact drying. Beyond temperature and humidity, consider:
- Building envelope conditions (open windows/doors creating drafts)
- HVAC system status (running vs. off)
- Weather changes (sudden humidity increases from rain)
- Below-grade applications (basement moisture issues)
When mixing the product, seemingly minor variations can cause major problems. Using cold water extends setting times significantly. Poor mixing techniques that fail to properly hydrate the dry materials can create inconsistent drying patterns across the floor area.
For stubborn cases where the compound remains tacky after 48+ hours despite addressing obvious factors, testing the substrate pH levels can provide insights. High alkalinity can interfere with proper curing.
How Soon Can You Tile on Self-Leveling Compound?
I've seen many flooring failures result from installing tile too soon on self-leveling compounds. Getting the timing right is essential for a durable, long-lasting installation.
Most standard self-leveling compounds require 16-24 hours before tile installation can begin, while rapid-setting formulations may allow tiling within 4-6 hours. Always verify residual moisture content is below 3% and follow manufacturer guidance for specific products.

The timing for tile installation over self-leveling compounds depends on multiple factors that affect both the initial bond and long-term durability of the finished floor. Understanding these timing considerations helps ensure professional results and prevents costly callbacks.
Different types of self-leveling compounds have varying wait times before allowing tile installation. I've compiled this information based on my experience with various product categories:
| Compound Type | Minimum Wait Time | Ideal Conditions | Moisture Content Requirement |
|---|---|---|---|
| Standard cement-based | 16-24 hours | 70°F, 50% humidity | <3% moisture content |
| Rapid-setting formulations | 4-6 hours | 70°F, 50% humidity | <3% moisture content |
| Gypsum-based | 24-48 hours | 70°F, 50% humidity | <0.5% moisture content |
| Deep-pour compounds | 24-72+ hours | 70°F, 50% humidity | Varies by depth |
Tile size and type significantly impact the required drying time. Large-format tiles (those with any edge exceeding 15 inches) trap moisture more effectively than smaller tiles. Similarly, impervious porcelain or glass tiles prevent evaporation compared to more porous ceramic varieties. When installing large-format or impervious tiles, I always add an additional 24 hours to the manufacturer's minimum recommendation.
Moisture testing provides objective verification that the compound is ready for tile installation. For critical installations, I recommend using a concrete moisture meter to ensure the content is below the threshold specified by both the self-leveling compound manufacturer and the tile adhesive manufacturer. Most require below 3% moisture content, though some premium rapid-set products may allow tiling at slightly higher readings.
Temperature fluctuations during the curing process can affect the strength development of the self-leveling compound. For installations in environments with significant temperature variations (like sunrooms or areas without climate control), allowing additional curing time provides insurance against potential problems.
Conclusion
Self-leveling mortar typically needs 4-6 hours to become walkable and 1-7 days for complete curing. Control temperature, humidity, and follow proper mixing ratios for optimal drying and a successful flooring installation.