Are you standing in the home improvement store, confused between tile adhesive1 and mortar2? This dilemma can lead to costly mistakes, wasted time, and potentially failed installations.
You can use tile adhesive1 instead of mortar2 to lay tiles in many situations. Tile adhesive offers superior bonding strength, faster drying times, and better flexibility than traditional mortar, making it ideal for modern tiling projects, especially for large format or specialty tiles.
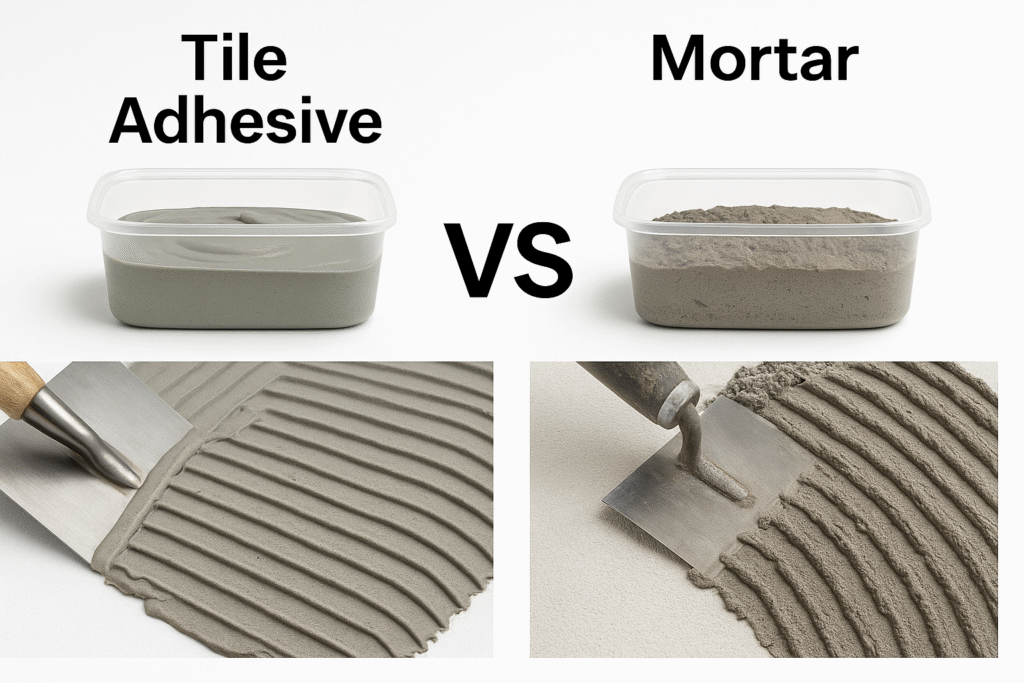
I remember when I first started working with tiles, the choice between traditional mortar and modern tile adhesives seemed overwhelming. Let me walk you through the differences to help you make the right decision for your project.
Mortar Vs Tile Adhesive - Can I Use Tile Adhesive Instead Of Mortar To Lay Ties?
Standing in front of shelves of bonding materials can be confusing. Making the wrong choice could mean your beautiful tiles might loosen or crack over time.
Tile adhesive can effectively replace traditional cement mortar in most tiling applications. While mortar has been the traditional choice due to its cost-effectiveness and compressive strength, modern tile adhesive1s offer superior bonding, flexibility, and are specifically formulated for today's diverse tile types.
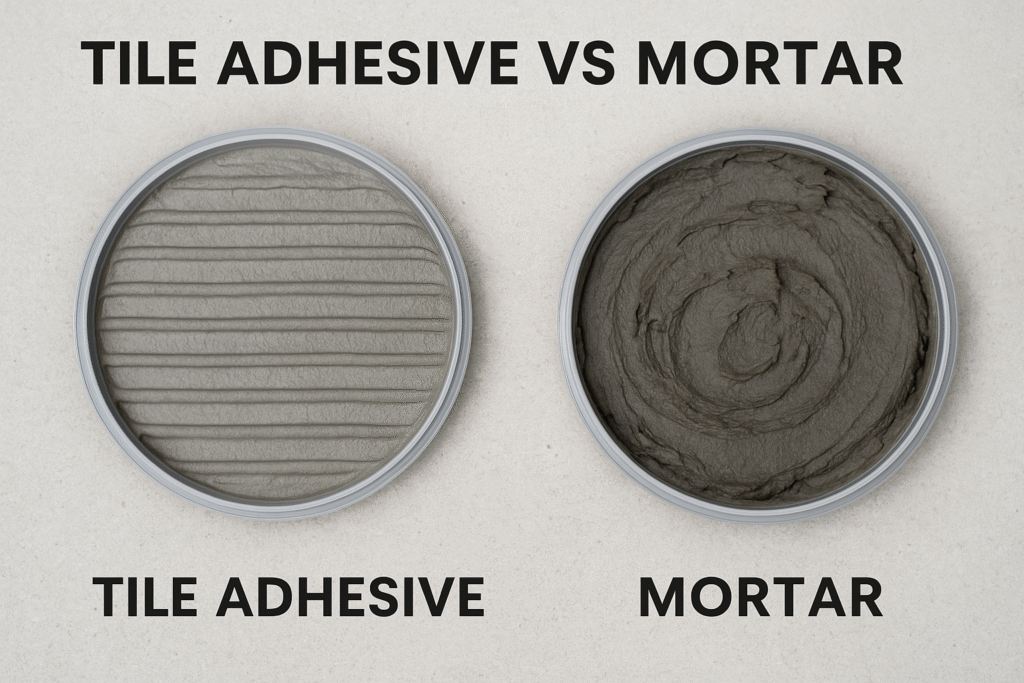
When comparing these two options, it's important to understand their fundamental differences. Cement mortar is essentially a mixture of cement, sand, and water that's been used for generations. It's relatively inexpensive and provides good compressive strength, making it suitable for areas that might experience heavy loads like driveways or industrial floors.
However, traditional mortar comes with significant drawbacks that make tile adhesive the superior choice for most modern applications. Cement mortar requires precise mixing - any miscalculation can compromise the bond strength. It's also more prone to shrinking and cracking over time, and its porous nature means it absorbs moisture quickly, potentially leading to mold growth and efflorescence (that white powdery substance that sometimes appears on tile surfaces).
In contrast, tile adhesives are specially formulated bonding agents that come pre-mixed or in easy-to-mix formulations. They provide significantly stronger adhesion between tiles and substrates, eliminating the guesswork of traditional mortar mixing. The polymer modifications in quality adhesives create flexible bonds that can handle substrate movement without cracking or loosening tiles - a crucial advantage in buildings that experience settling or temperature fluctuations.
For modern large-format tiles, porcelain, or glass tiles, adhesives are practically essential, as traditional mortar simply doesn't provide sufficient adhesion for these materials. Additionally, tile adhesives require thinner application layers, resulting in more precise leveling and a more consistent finished appearance.
Best Tools For Installing Tile Adhesive?
Trying to apply tile adhesive with improper tools can lead to uneven application, wasted material, and a frustrating experience that might make you question your DIY abilities.
The essential tools for tile adhesive installation include notched trowels in appropriate sizes for your tile dimensions, a mixing bucket and drill with mixing paddle for powdered adhesives3, a straight edge for leveling, spacers for consistent grout lines, and a rubber mallet for setting tiles.
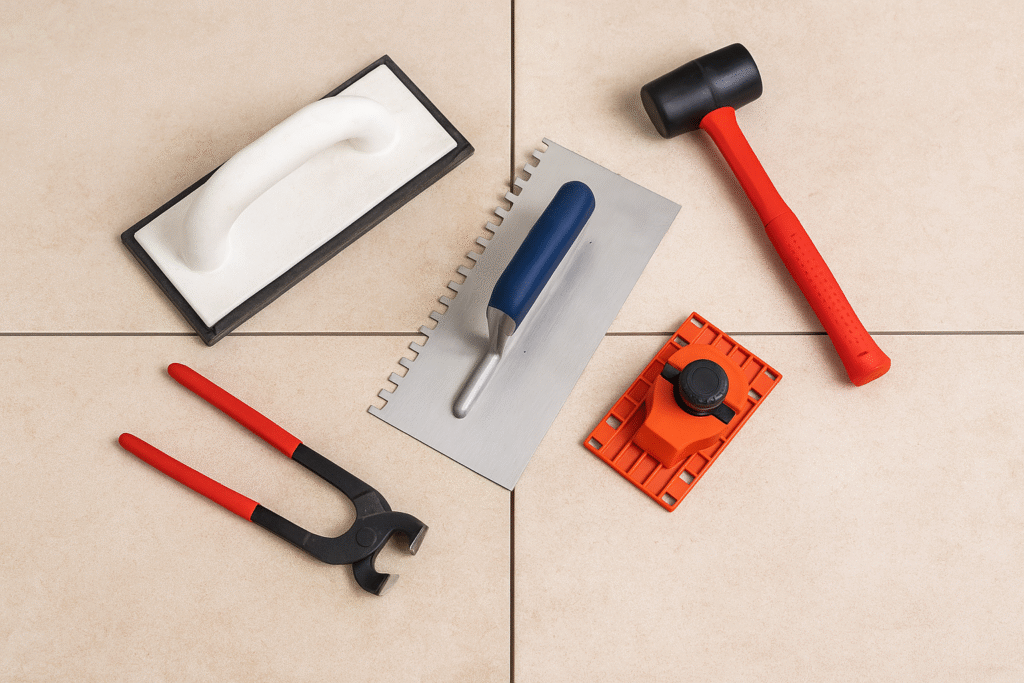
Selecting the right tools for tile adhesive application can make the difference between professional results and amateur mistakes. The cornerstone of proper adhesive application is the notched trowel, which creates ridges in the adhesive that collapse under pressure, ensuring complete coverage between the tile and substrate. The size of the notch matters significantly - smaller tiles generally require 1/4" x 1/4" notches, while larger tiles might need 1/2" x 1/2" notches to ensure adequate adhesive coverage.
For powdered tile adhesives, investing in a quality mixing paddle attachment for your drill provides consistent mixing results without introducing excessive air into the mixture. Hand mixing simply can't achieve the uniform consistency required for optimal performance. A margin trowel helps with transferring the mixed adhesive to your notched trowel and cleaning edges.
Tile spacers are crucial for maintaining even grout lines throughout your project. The traditional cross-shaped spacers work well for standard installations, but T-shaped spacers can be advantageous for wall installations as they don't fall out easily. For large format tiles, leveling systems that combine clips and wedges have become increasingly popular, helping prevent lippage (uneven tile edges) that becomes more noticeable with larger tiles.
A quality rubber mallet with a non-marring rubber head allows you to set tiles firmly into the adhesive without risking damage to the tile surface. For making cuts, while a manual tile cutter works for basic straight cuts on ceramic tiles, a wet saw becomes essential for porcelain tiles or complex cuts. Finally, don't overlook safety equipment - knee pads for floor installations, gloves to protect from adhesive chemicals, and eye protection when mixing or cutting are all important considerations for a safe installation experience.
How to Apply Tile Adhesive
Improperly applied tile adhesive can lead to hollow-sounding tiles, cracking, or complete detachment over time. The frustration of redoing a failed installation can be avoided with proper technique.
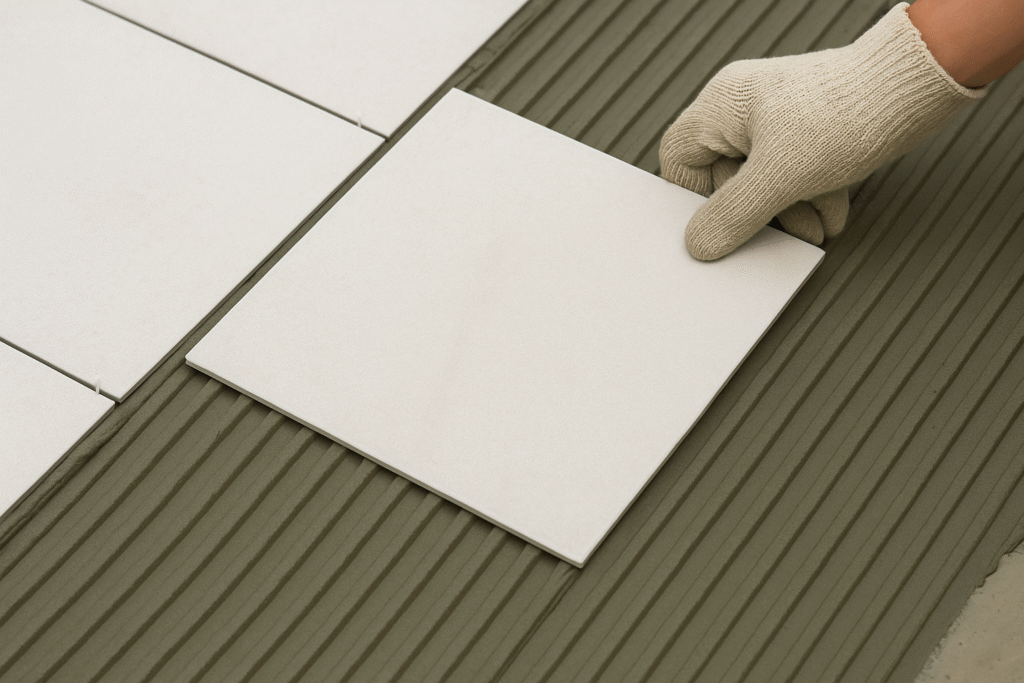
To apply tile adhesive1, start with a clean, flat surface. Mix powdered adhesive according to manufacturer instructions or use pre-mixed options. Apply with a notched trowel at a 45° angle, covering only a workable area. Press tiles with a slight twisting motion, periodically checking for proper coverage.
Successful tile installation begins long before the first tile is placed. Surface preparation is crucial - the substrate must be clean, dry, and free of dust, grease, or loose material. Any existing damage should be repaired, and uneven surfaces should be leveled with an appropriate compound. For walls, ensure they're plumb and for floors, check that they're level. In wet areas like bathrooms, applying a waterproofing membrane4 before tiling provides essential moisture protection.
When mixing powdered tile adhesive, precision matters. Too much water weakens the adhesive, while too little creates a dry mixture that won't adhere properly. Always follow the manufacturer's instructions regarding mixing ratios and standing time (the rest period after initial mixing that allows additives to activate properly). For pre-mixed adhesives, simply stir before application to ensure consistency.
The application technique significantly impacts the success of your project. Apply adhesive to the substrate using the flat side of your trowel first, creating a thin layer that fills surface irregularities. Then, hold your notched trowel at approximately a 45-degree angle and create uniform ridges in one direction. This ridge pattern is critical - it collapses under the weight of the tile, ensuring complete coverage and eliminating air pockets.
Working in manageable sections prevents the adhesive from skinning over before tiles are placed. For large format tiles (larger than 12"x12"), consider back-buttering - applying a thin layer of adhesive to the back of the tile in addition to the substrate - to ensure proper coverage and strong bonding. After placing each tile, apply gentle pressure with a slight twisting motion to seat it firmly in the adhesive.
Periodically check for proper coverage by lifting a recently placed tile to verify that adhesive is transferring to at least 80% of the tile back (95% in wet areas or high-traffic zones). This step, though often skipped by DIYers, is essential for long-term installation success.
Conclusion
Whether renovating a bathroom or updating your kitchen, tile adhesive offers superior performance compared to traditional mortar through better bonding strength, flexibility, and ease of application for modern tiling projects.
-
Explore the advantages of tile adhesive for modern tiling projects, including bonding strength and flexibility. ↩ ↩ ↩ ↩
-
Understanding the differences can help you choose the right material for your tiling project. ↩ ↩
-
Get tips on mixing powdered adhesives for optimal performance in your tiling projects. ↩
-
Discover the importance of waterproofing membranes in preventing moisture damage. ↩


