You pick the wrong tile adhesive for your project. Your tiles fall off. I've seen this happen too many times.
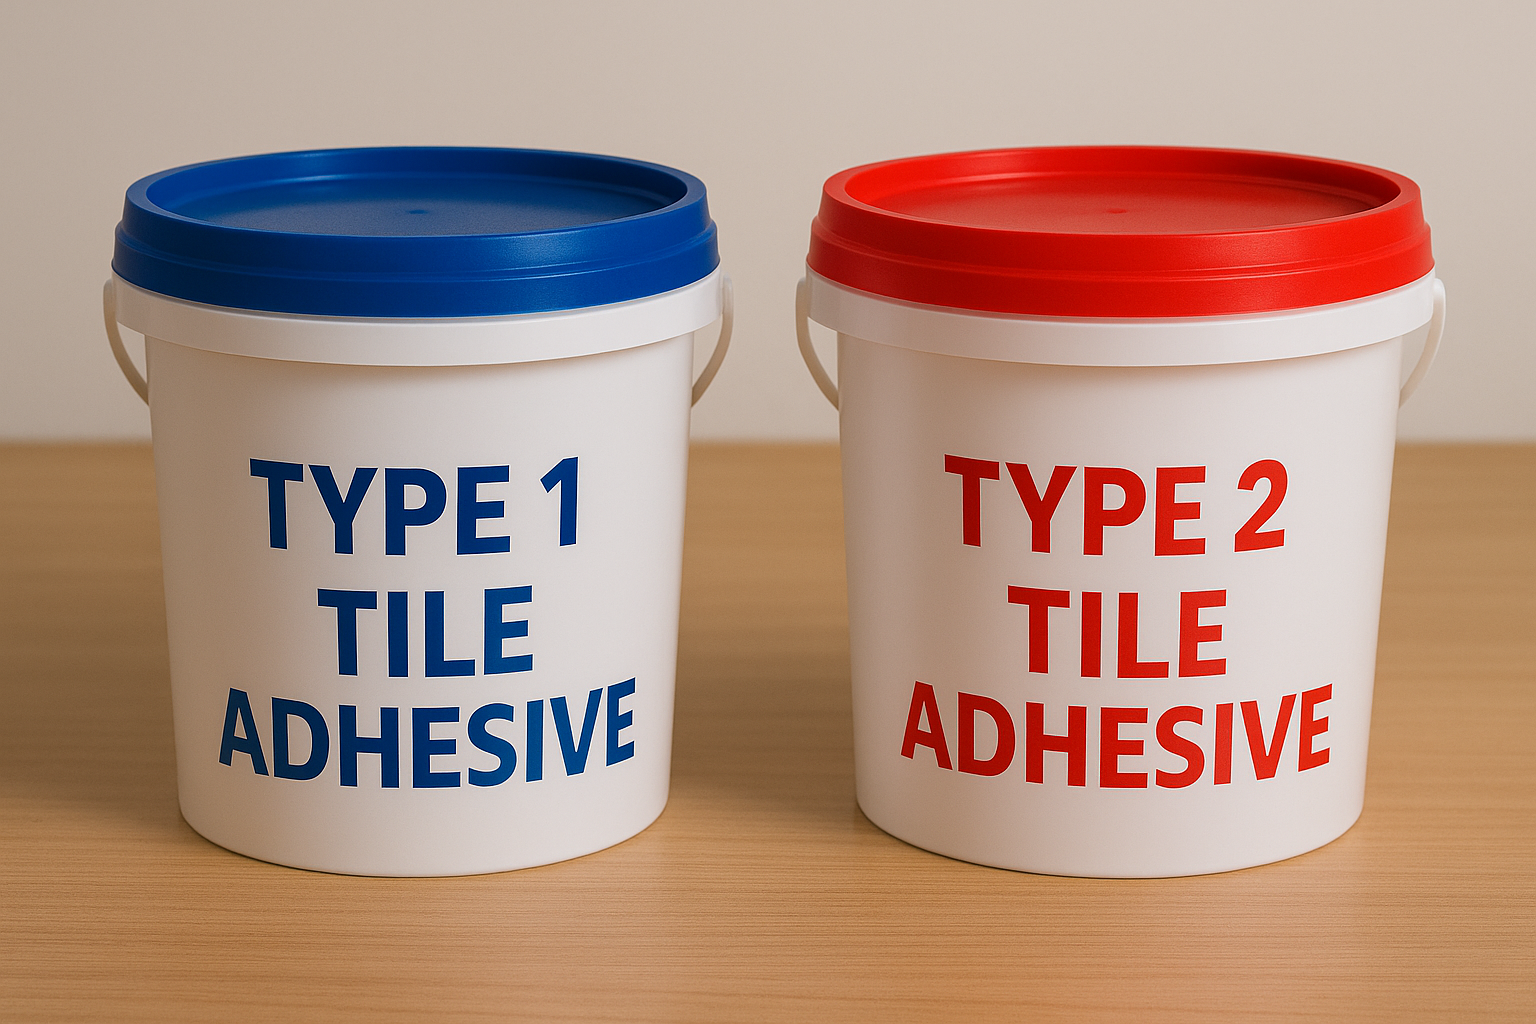
Type 1 adhesive1 works for dry areas like bedroom walls. Type 2 adhesive2 handles wet areas like showers and pools. I always check the moisture level first.

I learned this the hard way. My first bathroom project failed because I used Type 1 in the shower. Now I help customers avoid this mistake.
Do You Really Know Type 1 and Type 2 Tile Adhesive and Their Uses?
Many contractors guess which adhesive to use. This costs time and money. I see failed projects every month.
Type 1 bonds tiles in dry indoor areas. Type 2 resists water and works outdoors. I test the area's moisture before choosing.

Understanding the Basics
I work with tile adhesives daily. Type 1 contains basic polymers that bond well in normal conditions. Type 2 has extra waterproofing additives. Here's what I tell my customers:
| Feature | Type 1 | Type 2 |
|---|---|---|
| Water resistance | Low | High |
| Cost | Lower | Higher |
| Drying time | 24 hours | 48 hours |
| Best for | Interior dry walls | Wet areas, exterior |
The polymer content3 makes the difference. Type 1 has about 3-5% polymer. Type 2 contains 7-10% polymer plus waterproofing agents. I've tested both types in my factory lab. The extra polymers in Type 2 create a flexible, water-resistant bond. This prevents tiles from loosening when exposed to moisture.
What's the Real Difference Between Type 1 vs. Type 2 Tile Adhesive?
Customers ask me this daily. The confusion leads to project failures. I explain it simply.
Type 1 sticks tiles in dry spots. Type 2 handles water, frost, and heat. I match the adhesive to the environment.

Breaking Down the Technical Differences
I've spent years studying adhesive formulas. The main difference lies in the polymer modification. Type 1 uses standard cellulose ethers like our HPMC. Type 2 adds redispersible latex powder for flexibility.
| Property | Type 1 Performance | Type 2 Performance |
|---|---|---|
| Tensile strength | 0.5 MPa | 1.0 MPa |
| Water absorption | 15-20% | Less than 5% |
| Flexibility | Low | High |
| Temperature resistance | -10°C to 40°C | -30°C to 70°C |
My factory tests show Type 2 bonds stay strong after 1000 freeze-thaw cycles. Type 1 fails after 100 cycles. The latex powder creates a film that blocks water. This protects the cement matrix from damage. I recommend Type 2 for any area that gets wet or faces temperature changes.
Can You Use Type 1 Tile Adhesive for Shower Areas?
This question costs people thousands in repairs. I've fixed many bathrooms where Type 1 failed. Never make this mistake.
Type 1 adhesive fails in showers. Water destroys the bond. I only use Type 2 or epoxy adhesives in wet areas.

Why Showers Need Special Adhesive
I learned this fixing a hotel project. The contractor used Type 1 in 50 shower rooms. Within six months, tiles started falling. Here's what happens:
Water penetrates Type 1 adhesive through grout lines. The adhesive absorbs water and swells. This breaks the bond between tile and substrate. The process speeds up with hot water and steam. I've seen complete tile sheets fall off shower walls.
Type 2 adhesive2 contains waterproofing polymers. These create a barrier against moisture. The adhesive maintains its strength even when soaked. I test this by submerging bonded tiles for 30 days. Type 2 samples stay strong. Type 1 samples fall apart after 7 days. For shower floors, I recommend epoxy adhesive for extra protection.
Should You Choose Type 1 Tile Adhesive vs. Mortar?
Old-school tilers still use cement mortar. I understand why. But modern adhesives work better in most cases.
Type 1 adhesive bonds stronger than basic mortar. It's easier to apply and dries faster. I switched from mortar years ago.

Comparing Modern Adhesive to Traditional Mortar
I started with mortar 20 years ago. Here's what changed my mind:
| Factor | Type 1 Adhesive | Cement Mortar |
|---|---|---|
| Application thickness | 3-6mm | 10-20mm |
| Coverage per bag | 5-7 m² | 2-3 m² |
| Working time | 30 minutes | 2 hours |
| Full cure time | 24 hours | 72 hours |
Type 1 adhesive uses polymer modification. This creates stronger bonds with less material. Mortar relies on mechanical grip and thickness. I've tested bond strength - Type 1 reaches 0.5 MPa, basic mortar only 0.3 MPa.
The thin-bed method4 saves material and labor. I apply adhesive with a notched trowel. This creates uniform thickness. Mortar needs careful leveling and more skill. My customers report 40% faster installation with adhesive. The only advantage of mortar? Lower material cost for very large areas.
What's the Best Adhesive for Ceramic Tiles?
Ceramic tiles need the right adhesive match. I've tested hundreds of combinations. The best choice depends on location.
Standard ceramic tiles work with Type 1 in dry areas, Type 2 in wet areas. I check tile size and substrate too.

Matching Adhesive to Your Ceramic Tile Project
I help customers choose adhesive based on three factors:
Tile Size Guidelines:
- Small tiles (up to 30x30cm): Standard Type 1 or 2
- Medium tiles (30x60cm): Modified Type 1 or 2 with higher polymer
- Large format (60x60cm+): Type 2 with latex additive
Location Requirements:
- Kitchen backsplash: Type 1 works fine
- Bathroom walls: Type 2 for safety
- Outdoor patios: Type 2 with frost resistance
- Swimming pools: Special pool adhesive
My factory produces both types with different polymer levels. For ceramic tiles, I recommend 5% HPMC content minimum. This ensures good workability and bond strength. Large tiles need more grab - I add 2% redispersible powder. This prevents sagging during installation. Always match the adhesive to your specific conditions.
Conclusion
Type 1 handles dry areas. Type 2 resists water. I choose based on moisture exposure. This simple rule prevents failures.
-
Explore the specific applications and benefits of Type 1 adhesive to ensure you use it correctly in your projects. ↩
-
Learn about Type 2 adhesive's unique properties and why it's essential for wet areas and outdoor use. ↩ ↩
-
Discover how polymer content affects adhesive performance and longevity in various conditions. ↩
-
Learn about the thin-bed method and how it can save time and materials in your tiling projects. ↩