You've mixed your mortar, but it's sliding off the wall. This common problem wastes time and materials, causing frustration and project delays. Let's fix that sticky situation.
To make mortar stick better, ensure proper surface preparation by cleaning thoroughly and dampening appropriately. Use the right mix ratio with quality additives like HPMC cellulose1. Maintain ideal temperature conditions2 (50-90°F) and proper curing practices for maximum adhesion.

When mortar fails to stick properly, your entire project is at risk. Poor adhesion leads to structural failures, water damage, and expensive repairs down the line. Understanding what causes poor adhesion is the first step to solving the problem. Let's look at the most common issues and their solutions.
What Are Common Problems That Stop Mortar from Sticking?
You mix your mortar carefully, but it still won't stick. This happens because of dirty surfaces, wrong mixing ratios, or improper temperature conditions. These issues waste your time and money.
Common mortar adhesion3 problems include dirty or dusty surfaces, improper moisture content in the substrate, incorrect mortar mix ratios, extreme temperatures during application, and using low-quality binding additives like substandard hydroxypropyl methylcellulose (HPMC).

Understanding Surface Preparation Issues
Surface preparation is the foundation of good mortar adhesion. I've seen countless projects fail because contractors rushed through this crucial step. When surfaces contain dust, oil, or loose particles, mortar can't form a proper mechanical bond. Think of it like trying to glue two pieces of paper together with sand between them - it simply won't hold.
The substrate's moisture level is equally important. Too dry, and it will suck the moisture from your mortar too quickly, leading to shrinkage cracks and poor bonding. Too wet, and the excess water creates a barrier between the mortar and the surface. I recommend testing your surface with a light water spray - it should absorb slowly without pooling or running off.
| Surface Problem | Impact on Adhesion | Solution |
|---|---|---|
| Dust/debris | Prevents direct contact | Thorough cleaning with brush/compressed air |
| Oil/grease | Creates bond-breaking barrier | Degrease with appropriate cleaner |
| Loose material | Creates unstable bonding surface | Remove completely, secure any loose elements |
| Extreme dryness | Pulls moisture from mortar | Dampen substrate before application |
| Excessive moisture | Dilutes mortar mix | Allow to dry to "SSD" condition (Saturated Surface Dry) |
How to Make Mortar Stick Better?
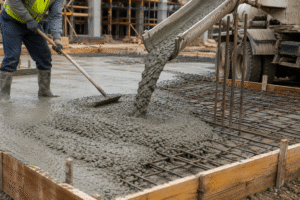
Your mortar keeps falling off, causing delays and wasted materials. This problem stems from improper mixing, wrong additives, or poor application techniques. We need to fix these issues fast.
To improve mortar adhesion, use quality HPMC cellulose1 as a binding agent (0.2-0.4% by weight), maintain a consistent water-to-cement ratio (typically 0.5-0.6), apply with proper pressure in the right thickness, and ensure the substrate is clean and properly dampened.

The Role of Quality Additives in Mortar Adhesion
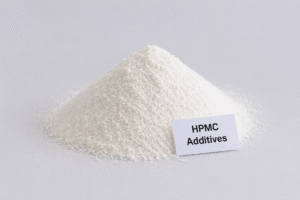
In my 15 years working with construction materials, I've seen firsthand how the right additives transform ordinary mortar into a high-performance building material. Hydroxypropyl methylcellulose (HPMC) stands out as the most effective adhesion-enhancing additive. It works by creating a molecular network that increases cohesion within the mortar and adhesion to the substrate.
When selecting HPMC, viscosity matters tremendously. Too low viscosity (under 100,000 mPa·s) won't provide sufficient binding strength, while excessive viscosity (above 200,000 mPa·s) can make the mortar too sticky to work with effectively. At our factory, we've found that 150,000 mPa·s provides the optimal balance for most applications.
The dosage is equally critical. Most contractors use too little, hoping to save money, but this actually costs more in repairs and callbacks. Based on extensive testing, I recommend:
- Thin-set mortars: 0.3-0.4% HPMC by weight
- Regular masonry mortars: 0.2-0.3% HPMC by weight
- Render/stucco applications: 0.25-0.35% HPMC by weight
Beyond HPMC, consider these complementary additives:
| Additive Type | Function | Recommended Dosage |
|---|---|---|
| Redispersible Polymer Powder | Improves flexibility and adhesion | 1-3% by weight |
| Cellulose Ethers (HEMC, CMC) | Water retention and workability | 0.2-0.4% by weight |
| Polypropylene Fiber | Crack resistance and strength | 0.1-0.3% by volume |
What Are the Tips for Maintaining Optimal Conditions?
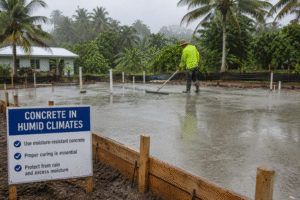
You've mixed perfect mortar but environmental factors4 keep ruining your work. Heat dries it too fast, cold slows curing, and rain washes away your progress. These conditions cost you time and money.
To maintain optimal mortar conditions, work within 50-90°F (10-32°C), shield fresh applications from direct sun and wind, use temperature-appropriate water ratios, monitor humidity levels (ideally 40-70%), and adjust curing methods based on environmental conditions.

Climate Adaptation Strategies for Different Regions
Working with mortar across various climates has taught me valuable lessons about adaptation. In Saudi Arabia, where temperatures regularly exceed 100°F (38°C), I've had to completely rethink my approach compared to cooler climates like northern China. These regional differences demand specific strategies.
In hot, arid environments, evaporation happens incredibly quickly. We've found success by:
- Using slightly cooler water in the mix (around 60°F/15°C)
- Increasing HPMC content by 0.05-0.1% to improve water retention
- Working in shaded areas and during cooler parts of the day
- Misting curing mortar every 2-3 hours for the first 24 hours
Conversely, in humid tropical regions like the Philippines and Vietnam, moisture evaporation happens too slowly. Our approach includes:
- Reducing water content by 5-10%
- Adding hydraulic lime to speed setting time
- Increasing air movement around fresh applications
- Using dehumidifiers in enclosed spaces when practical
For cold weather applications (below 50°F/10°C), we recommend:
| Temperature Range | Adjustment Strategy | Special Considerations |
|---|---|---|
| 40-50°F (4-10°C) | Use warm water (80-90°F/26-32°C) | Add accelerating admixture |
| 32-40°F (0-4°C) | Heat sand and water, insulate fresh work | Use Type III high-early cement |
| Below 32°F (0°C) | Heat workspace with temporary enclosures | Add anti-freeze admixtures, never use frozen materials |
FAQ About Making Mortar Stick Better
Your projects keep failing because of basic mortar problems. Customers complain, you lose money on rework, and your reputation suffers. Understanding these common questions will help turn things around.
To achieve maximum mortar adhesion, prepare surfaces properly by removing all dust and loose material, use additives like HPMC cellulose1 and redispersible powder, maintain proper moisture content, apply with appropriate pressure, and follow manufacturer-recommended curing times before loading.

Best Practices for Different Substrates and Applications
Different substrates demand different approaches to mortar application. I've worked with everything from glass tile to concrete block, and each material has its unique challenges. Concrete substrates, for instance, are particularly problematic because their dense structure limits mechanical bonding.
For concrete surfaces, I always recommend acid etching or mechanical abrasion to create a textured surface that mortar can grab onto. We've conducted tests showing up to 75% improvement in bond strength after proper surface preparation. Additionally, using a bonding agent specifically formulated for concrete can increase adhesion by up to 40%.
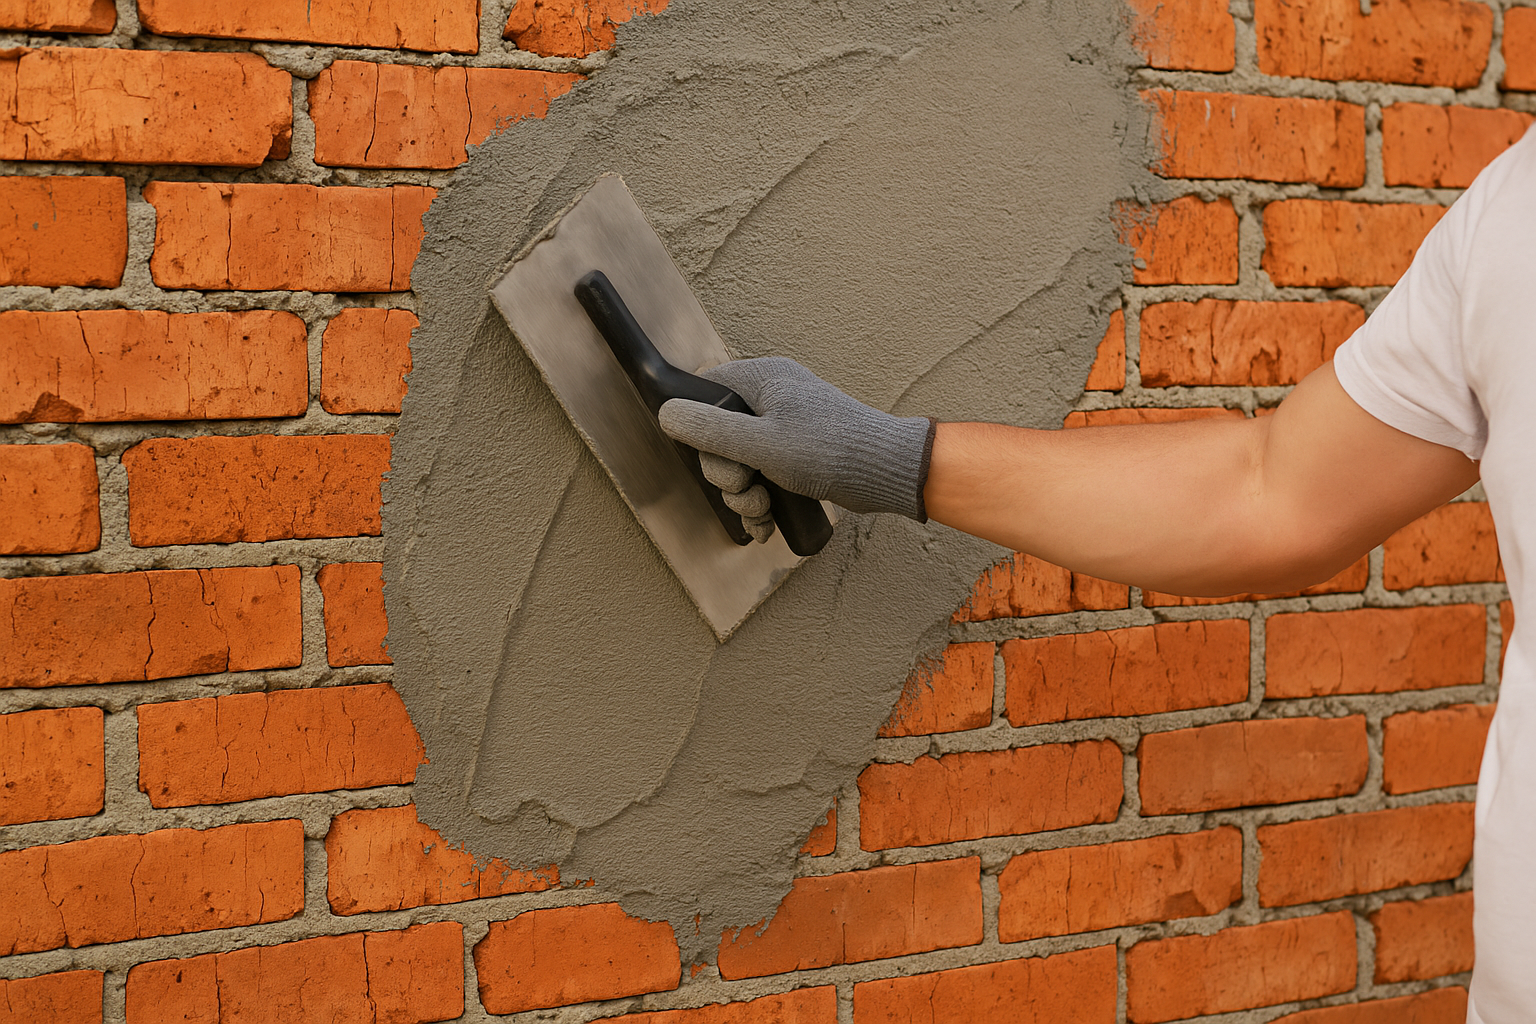
For highly absorbent substrates like brick or certain natural stones, pre-dampening is crucial but often misunderstood. Many applicators soak the material, which is actually counterproductive. The ideal state is "saturated surface dry" (SSD) - when the substrate has absorbed water but no free water remains on the surface. This prevents the substrate from pulling moisture from your mortar while still allowing proper chemical bonding.
For specialty applications like glass tile or non-porous surfaces, modified mortars containing high percentages of polymers are essential. These create chemical bonds rather than relying solely on mechanical adhesion. In our laboratory tests, polymer-modified mortars5 showed 3-4 times the adhesion strength on glass compared to traditional mortars.
| Substrate Type | Common Issues | Recommended Solution |
|---|---|---|
| Concrete | Dense, low porosity | Mechanical abrasion + bonding agent |
| Brick/Block | High absorption | Achieve SSD condition + water-retaining mortar |
| Natural Stone | Variable porosity | Test absorption rate, adjust pre-wetting accordingly |
| Glass/Porcelain | Non-porous | High-polymer modified mortar + 100% coverage |
| Existing Tile | Smooth, potential contaminants | Scarify surface + thorough cleaning + bonding slurry |
Conclusion
Proper surface preparation, quality additives like HPMC, correct mixing ratios, and suitable environmental conditions are the keys to making mortar stick better. Follow these guidelines to ensure durable, long-lasting results on your next project.
-
Discover the benefits of using HPMC cellulose as a binding agent in mortar. ↩ ↩ ↩
-
Understand how temperature affects mortar application and curing. ↩
-
Explore effective techniques to enhance mortar adhesion and ensure your projects are successful. ↩
-
Understand how to adapt your mortar application to different environmental conditions. ↩
-
Explore the advantages of using polymer-modified mortars for non-porous surfaces. ↩