Everyone wants smooth, flawless walls, but cracks, holes, and uneven surfaces stand in the way. These imperfections not only look bad but can lead to moisture problems and paint failures.
Wall putty1 is a cement-based or acrylic-based compound used to create a smooth, even surface on walls before painting. It fills minor cracks and holes, covers imperfections, provides a uniform base for paint, and improves the final appearance and durability of painted surfaces.
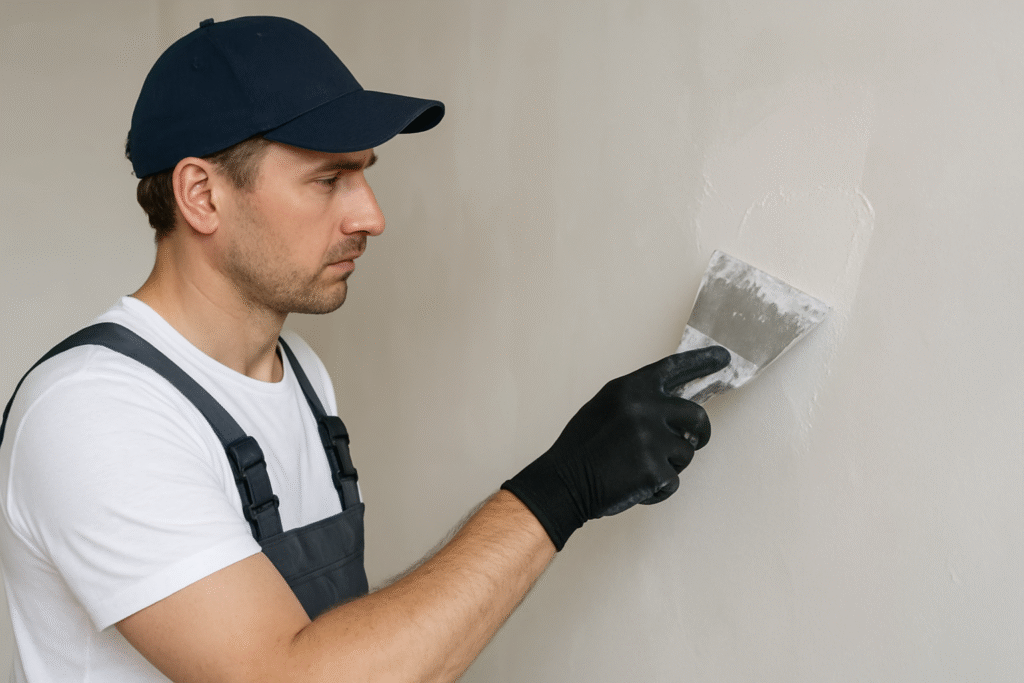
If you're planning to paint your walls soon, understanding wall putty is crucial. The right putty can mean the difference between a professional-looking finish that lasts for years and a subpar result that needs redoing within months. Let's explore everything you need to know about wall putty.
What is Wall Putty and How Does It Work?
When I look at unfinished walls, I see countless tiny imperfections that will ruin even the most expensive paint job. These flaws need addressing before any color goes on.
Wall putty1 is a thick paste applied to interior and exterior walls to create a smooth, uniform surface before painting. It contains binders, fillers, and additives that fill minor cracks, level uneven areas, and provide a stable base layer that helps paint adhere properly and last longer.
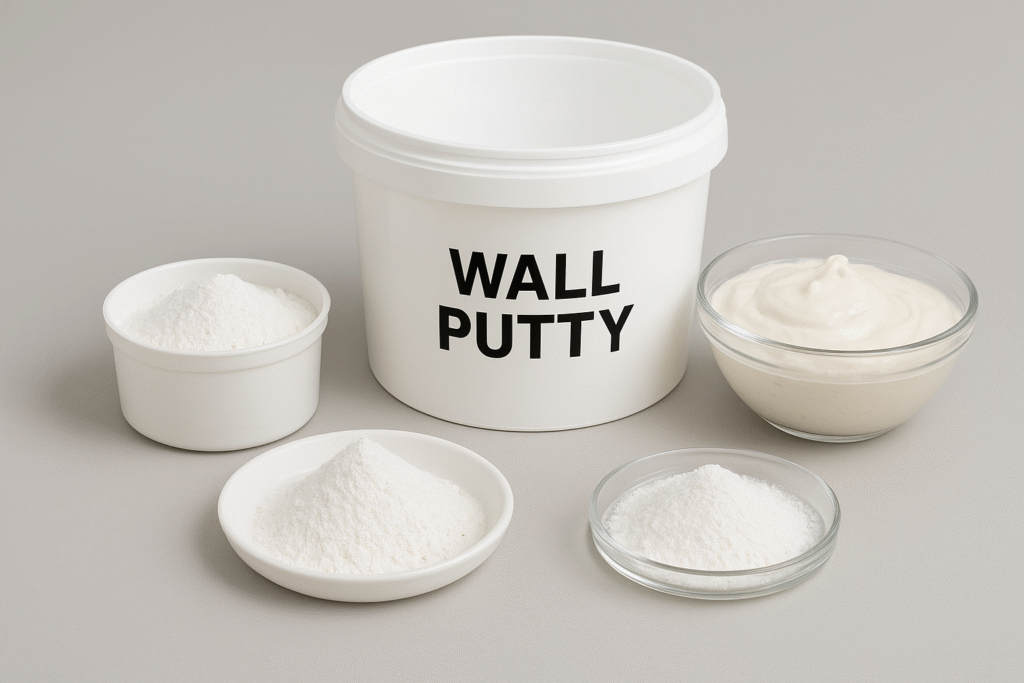
Wall putty functions as the crucial middle layer between your wall's base material and the final paint coat. I've seen many customers confused about what exactly putty does, so let me break it down clearly. Wall putty serves multiple purposes in construction and renovation:
Primary Functions of Wall Putty
- Surface Leveling: Fills in small holes, cracks, and uneven areas to create a flat surface
- Moisture Resistance: Quality putties provide a protective barrier against moisture infiltration
- Binding Agent: Creates strong adhesion between the wall and paint
- Extended Paint Life: Prevents paint from flaking or peeling prematurely
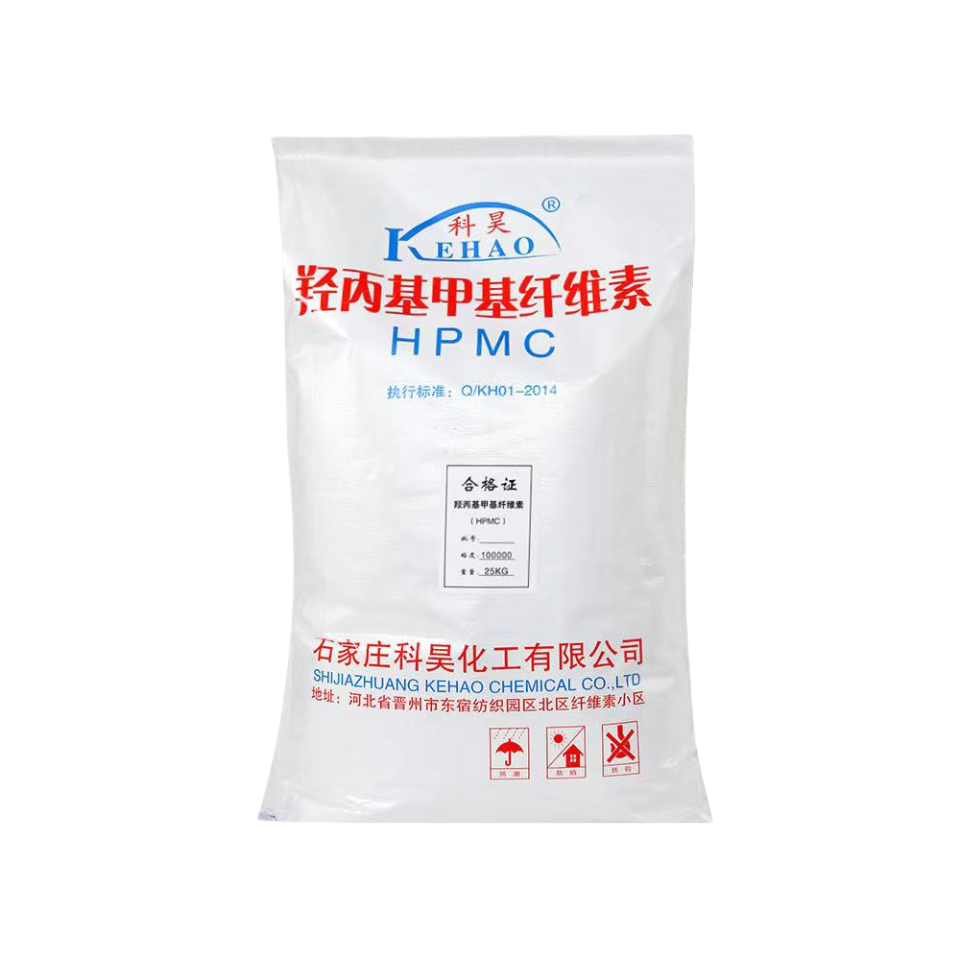
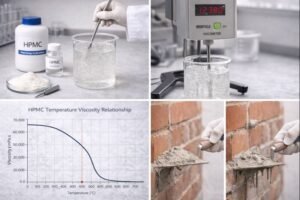
The effectiveness of wall putty comes from its formulation. At our factory, we incorporate hydroxypropyl methylcellulose (HPMC) as a critical ingredient because it improves water retention2, workability, and adhesion. This cellulose ether makes the putty spreadable while maintaining its strength once dried.
What Are the Different Types of Wall Putty?
When customers ask me about wall putty options, I notice they're often overwhelmed by choices. The wrong selection can lead to cracking, peeling, and wasted money.
The main types of wall putty include cement-based (white cement putty), acrylic-based (polymer putty), POP-based (plaster of Paris putty), and specialized putties for exterior use. Each type has specific applications based on the wall material, environmental conditions, and desired finish quality.
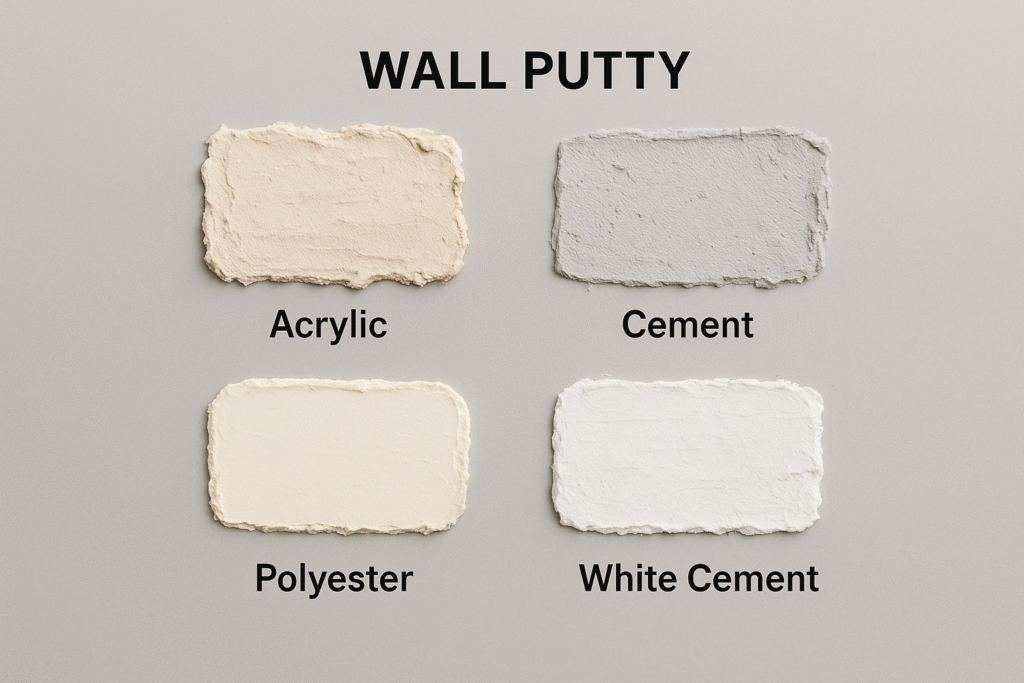
Choosing the right putty can seem complicated, but understanding the strengths and limitations of each type simplifies the decision. I've helped countless clients make this choice, and I've found that considering these factors leads to the best results:
Comparison of Wall Putty Types
| Type | Base Material | Best Used For | Advantages | Limitations |
|---|---|---|---|---|
| Cement-Based | White cement, minerals | Interior/exterior walls | Durability, water resistance | Longer drying time |
| Acrylic-Based | Acrylic polymers | Interior premium finishes | Flexibility, crack resistance | Higher cost |
| POP-Based | Plaster of Paris | Quick repairs, small areas | Fast setting, easy application | Less durable |
| Exterior | Special weather-resistant formulations | Outdoor surfaces | UV protection, waterproofing | Requires specific application technique |
In our factory, we produce all these varieties, but I've observed the highest demand for cement-based putties enhanced with HPMC in developing markets. This combination offers durability with improved workability, making it ideal for professional contractors working in varied climate conditions.
The choice of wall putty should also consider the substrate. Concrete walls, brick surfaces, and drywall each interact differently with various putty formulations. For example, acrylic putties flex better with drywall movement, while cement-based options provide superior adhesion to concrete.
Should You Apply Putty or Primer First?
This question comes up in almost every consultation I have with new customers. Using the wrong application sequence wastes both product and labor while compromising the final result.
Apply wall putty first, then primer. Putty fills imperfections and creates an even surface, while primer (applied after putty dries) seals the putty, improves paint adhesion, and ensures uniform paint absorption. This sequence maximizes surface quality and extends the life of your paint finish.
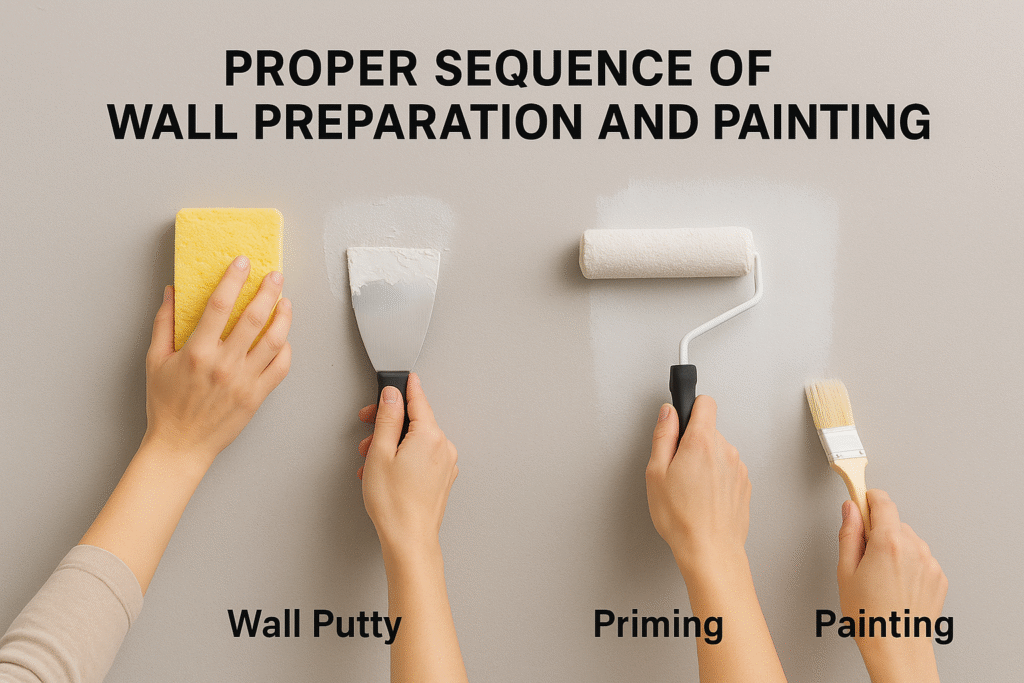
The application order is critical for achieving professional results, and I've seen many DIY attempts fail by reversing these steps. Let me walk you through the correct process based on both technical requirements and my years of experience in the field:
Correct Wall Preparation Sequence
- Clean the surface - Remove dust, grease, and loose materials
- Repair major defects - Fill significant holes or cracks with appropriate filler
- Apply wall putty - Usually in 2-3 thin coats rather than one thick layer
- Sand the putty - Once completely dry, sand to achieve a smooth finish
- Apply primer - Use a primer suited to your putty type and final paint
- Paint the surface - Apply topcoat after primer has fully dried
In humid climates like many of our export markets, drying times between steps become even more critical. Our technical team recommends allowing 24-48 hours after the final putty coat before priming, depending on environmental conditions. Rushing this process often leads to moisture trapped beneath the paint, which can cause bubbling and peeling.
I've also found that many professionals skip the primer step to save time and money. This is a significant mistake. Primer creates a uniform surface for paint absorption, preventing the common problem of "flashing" where some areas appear more glossy than others.
What Are the Advantages of Using Wall Putty?
Many clients ask if wall putty is really necessary. After seeing both properly prepared and unprepared walls over time, I can confidently say the difference is dramatic.
Using wall putty provides numerous advantages including a smooth, defect-free surface; better paint adhesion; reduced paint consumption; protection against moisture and fungi; enhanced wall durability; and prevention of frequent repainting. The initial investment in quality putty typically saves money long-term.

In my years working with construction companies across developing markets, I've compiled solid evidence of how proper wall putty application transforms not just the immediate appearance but the long-term performance of buildings. Here's what I've observed consistently:
Key Benefits of Quality Wall Putty Application
The economic benefits of using good putty extend beyond aesthetics. One major construction client in Saudi Arabia reported 30% reduction in paint consumption after switching to our HPMC-enhanced wall putty. This occurs because properly sealed surfaces don't absorb excess paint into the wall substrate.
Additionally, buildings in hot, humid climates face unique challenges. Without proper wall putty, moisture penetration can lead to paint bubbling within months of application. Our customers in Vietnam and the Philippines specifically value our putty formulations with enhanced water resistance properties for this reason.
For commercial buildings, another significant advantage is the reduced maintenance cycle. Properties using premium wall putty typically extend their repainting schedule by 2-3 years compared to those using basic preparation methods. This translates to substantial cost savings over a building's lifetime.
In developing markets where construction standards are still evolving, education about proper wall preparation has become part of our customer service. We've found that contractors who understand and implement proper putty application gain competitive advantages through superior results and client satisfaction.
Conclusion
Wall putty1 is essential for achieving smooth, durable painted surfaces. Choose the right type for your specific needs, always apply it before primer, and use quality products for the best long-term results and cost savings.
